Integrate with an OpenID Connect Identity Provider
This guide serves as a reference for configuring SSO with an Identity Provider (IdP) using the OpenID Connect (OIDC) protocol.
Attention
In order to configure an OIDC IdP with VECTR, your Identity Provider needs to support OIDC Discovery.
Prerequisites
Determine your VECTR callback URL
The callback URL will be your VECTR domain followed by /auth/login/callback. For example:
- VECTR domain:
sravectr.internal - VECTR callback URL will be:
https://sravectr.internal/auth/login/callback
You will need to enter your VECTR callback URL when registering VECTR with your IdP.
Register VECTR with your Identity Provider
To allow users to log in using an OIDC Identity Provider, you must register VECTR with your IdP. The process of doing this varies depending on the IdP, so you will need to follow your IdP's documentation to complete this task.
Generally, you will want to make sure that at some point you enter/select the following:
| Option | Value |
|---|---|
| Callback URL | Enter your callback URL: https://<VECTR_DOMAIN>/auth/login/callback |
| Scope | Enter or select:
|
| Grant type | Enter or select: Authorization Code |
During registration, your IdP should display or provide the following: (make note of these values)
- Application ID
- Discovery URL
Configure Client Secret
The process of creating a client secret varies depending on the IdP. Follow your IdP's documentation for creating OIDC client secrets.
Once generated, make note of this value.
Note
If the client secret has an expiration date, make sure to record this. You will need to renew the key before that day to avoid a service interruption.
Configure an Identity Provider in VECTR
-
Log into VECTR as an admin
-
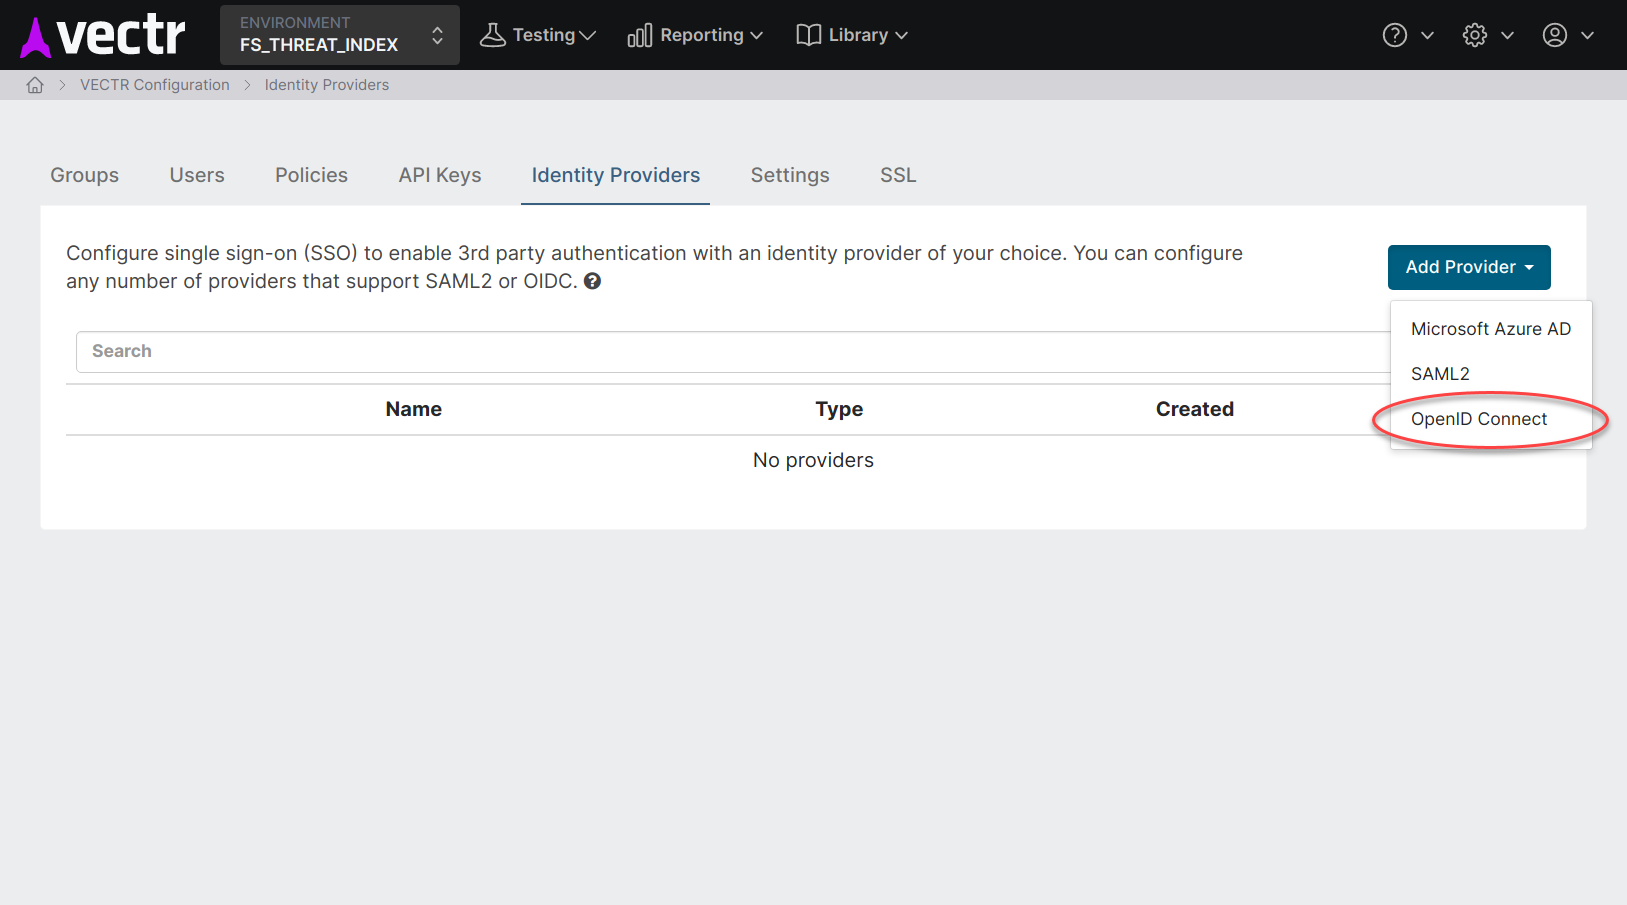
From top navigation, choose the Configuration cog in the top right VECTR Configuration and select Asset Management then Identity Providers.
-
Click Add Provider -> OpenID Connect
-
Enter the Identity Provider's information, then click Next:
Field Description Required Display Name The name used to customize the login button on the login page. When set, the button will read "Log in with [Display Name]". YES Application ID The ID of your application. This information should have been provided during registration with your IdP. YES Discovery URL The URL of your IdP's OIDC Discovery endpoint. YES Client Secret The client secret that you created when registering VECTR with your IdP. YES Logo URL URL of an image to use to for the login button. When set, the button will display the image as a 20px by 20px square. NO 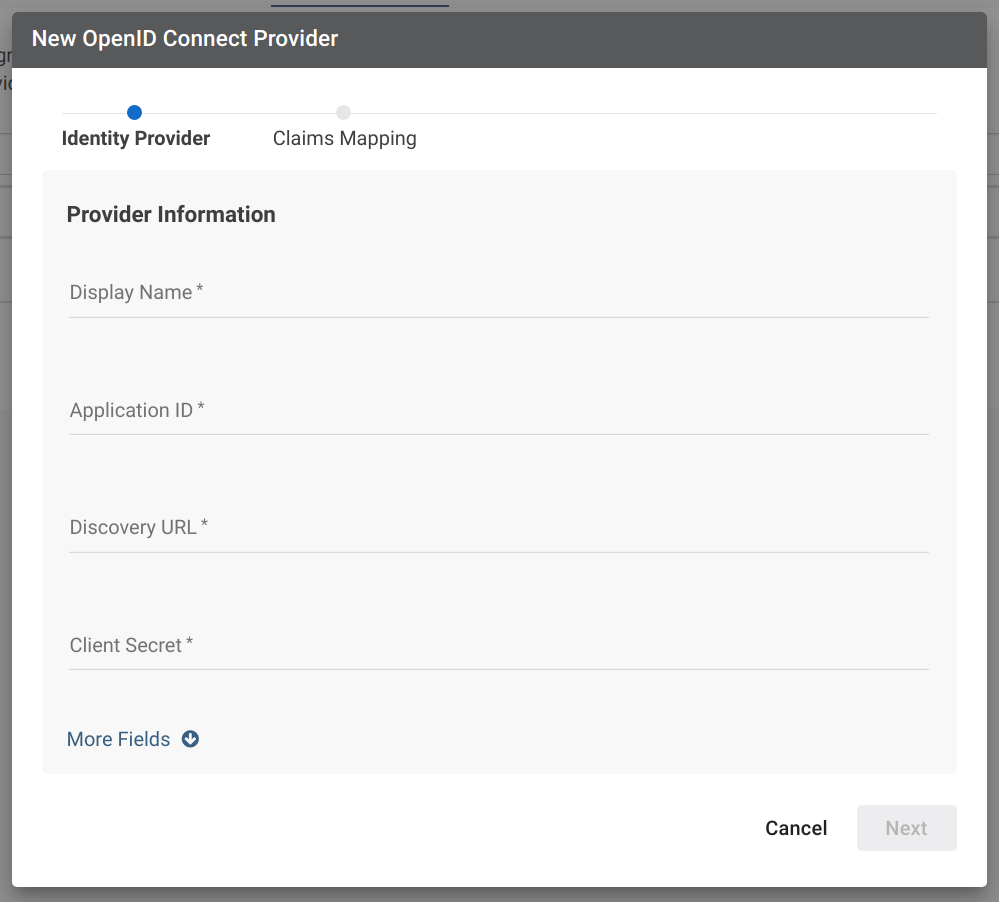
-
Claims mapping. You can generally use the default values provided. Click Save when you are done.
Attention
If you make changes to the claims mapping, be sure that the value mapping is configured in your IdP as well.
-
Copy the information provided on the Configuration Info tab to your IdP
Optional Step
This set is optional if you have already specified the callback URL when registering VECTR with your IdP.
-
Click Done
Test the Connection
To test the integration, open a new Incognito window and go to your VECTR instance. You should see a new login method for your IdP. Click on the button and follow the your IdP's authentication flow. After you have authenticated, you should see a screen requesting access to VECTR:
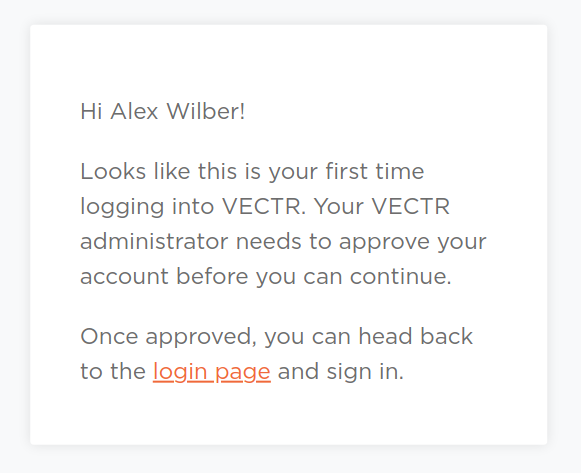
This is the access pending page that all SSO users will see the first time they authenticate with VECTR using your IdP. To read more about managing SSO users, see the Managing SSO Users page.